THE BASICS
Below are the basic steps to follow for painting a flat design. Each pattern has it's own steps for paper prep, but most follow these steps. I have tried to be as clear as possible, but if you have any questions, just send me a quick e-mail to [email protected].
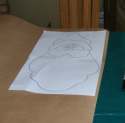
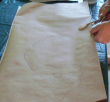
Unroll brown paper to size needed for design. Place the pattern on the paper, and mark paper one inch beyond the edge of the pattern.
Remove pattern. Fold the paper on the marked line.

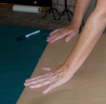
Cut the paper. Repeat this process 2 more times (most of my flat designs use 6 layers, this makes them very durable)
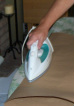
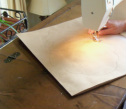
If your paper rolls are curling, iron them flat.
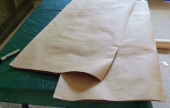
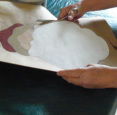
To make the layers easier to sew, insert two of the three layers into the middle of one layer, enclosing them.

Place the pattern back on the paper, and trace all pieces needed for design. Be sure to leave one inch between each traced piece.
To make pieces easier to sew, cut each piece, one half inch beyond the traced line.
Now sew all the way around your pieces as instructed in your pattern.
Cut threads, then trim ALL around the item, leaving a border of 1/2 inch.
